Morbid Lullabies
Morbid Lullabies x Donutz.ai – 3D Crystal Pixel Display Cube
Morbid Lullabies x Donutz.ai – 3D Crystal Pixel Display Cube
Couldn't load pickup availability
Turn your desk or gaming station into a portal of pixel magic. Introducing our limited-edition 3D Crystal Display Cube, a glowing collaboration between Morbid Lullabies and @Donutz.ai—custom-built for gamers, collectors, and digital dreamers.
🧊 Holographic Pixel Perfection
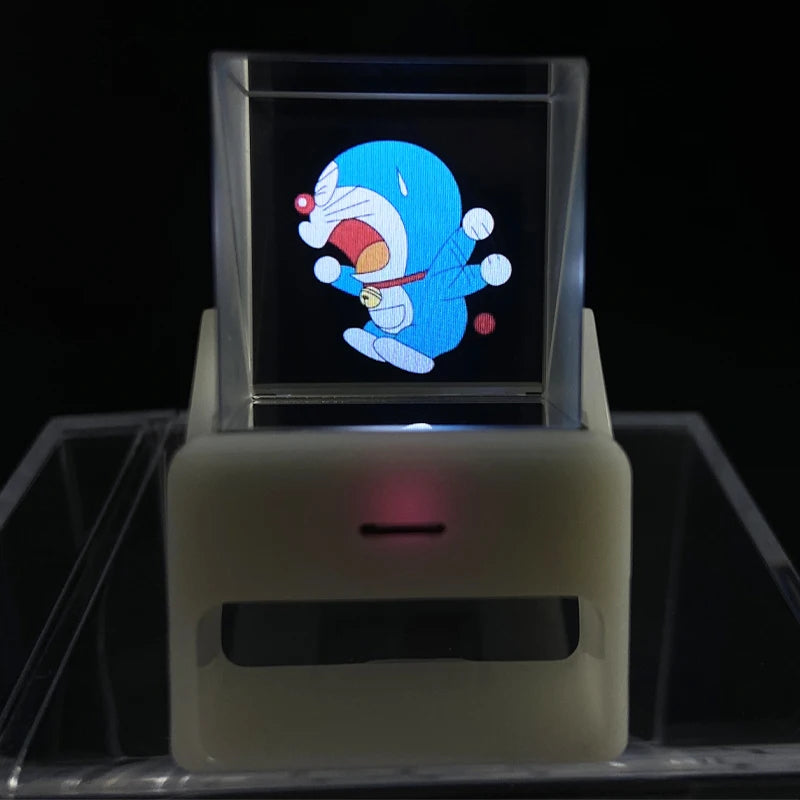
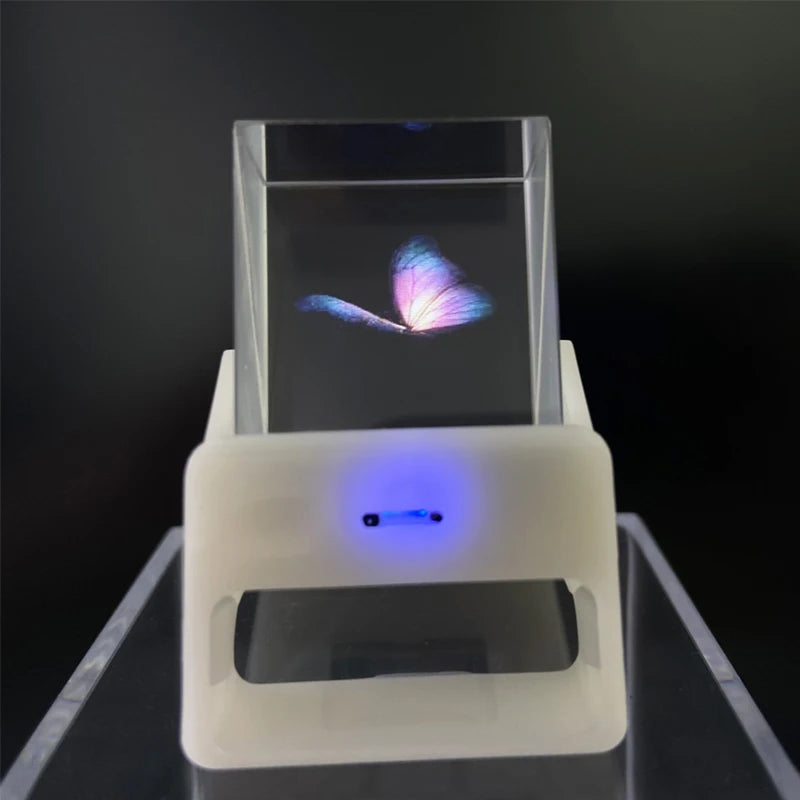
Featuring crisp voxel-style renderings of iconic visuals (like the enchanted Minecraft pickaxe or golden apple), this display projects animations that float mid-air in a crystal-clear cube. It’s like pixel art meets futuristic sorcery.
🌐 Wi-Fi Enabled – GeekMagic V7.0.18
Connect wirelessly and showcase dynamic content. This isn’t just a static piece—our GeekMagic OS ensures it evolves, rotates between icons, and can be personalized in future updates.
⚡️ USB Powered | Plug & Glow
Perfect for desktops, nightstands, gaming setups, or creative altars. Simply plug it in and watch it beam your pixel fantasies into reality.
🎮 Perfect for Minecrafters, Coders, Geeks, and Aesthetic Addicts
Whether you’re a collector or gifting the gamer in your life, this cube is the ultimate fusion of retro game vibes + next-gen display tech.
Drop Exclusive. Ships from MorbidLullabies.com
🛒 Only a few in stock. Ready to glow? Secure yours now.
1.33-inch WiFi Creative Transparent Small TV 240 * 240 IPS Display ESP32-S3 8M PSRAM 8M FLASH
My-Ap | 12345678
Download link for materials: http://pan.jczn1688.com/directlink/1/HMI%20display/JC2424W513.zip
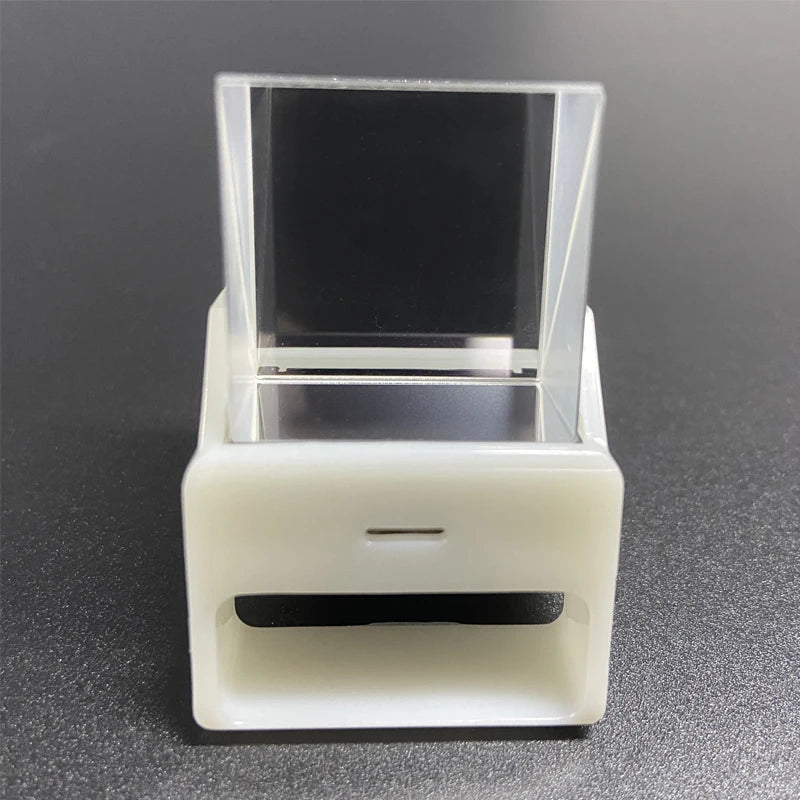
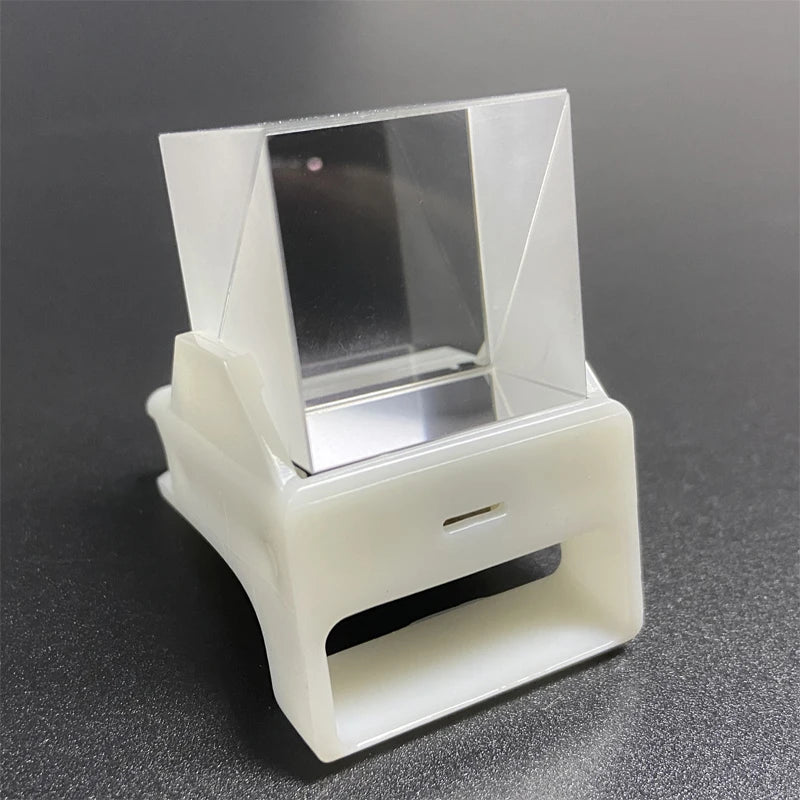
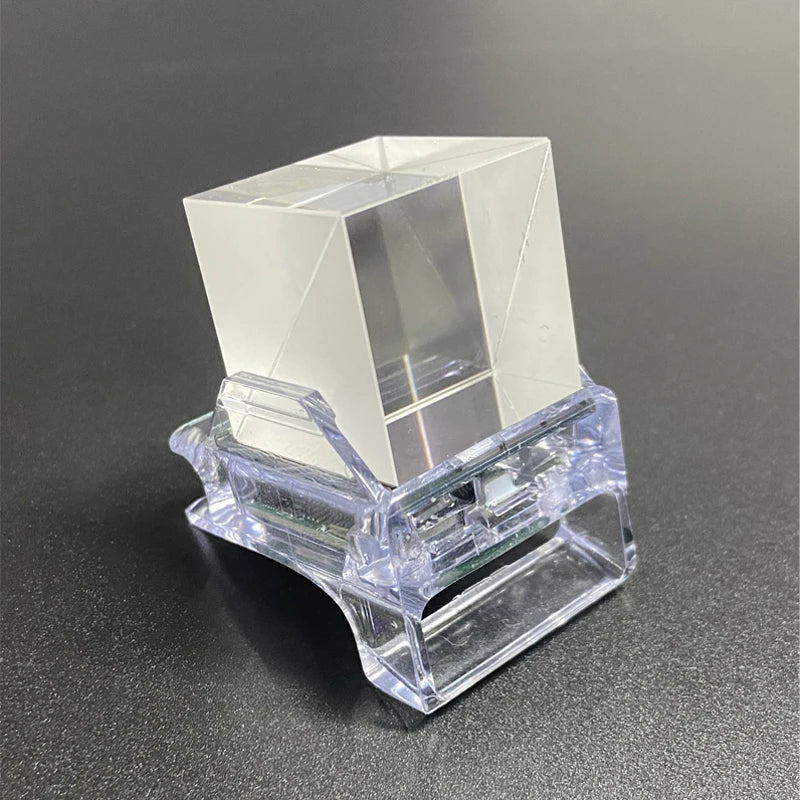
Overall size: 38mmx32mmx49mm(Small Size)
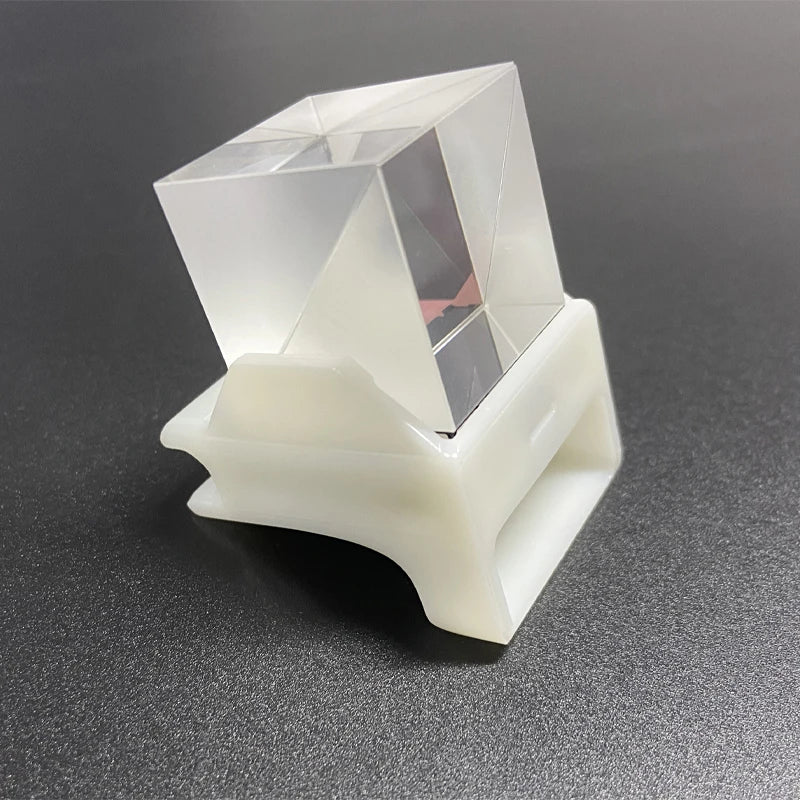
Optical prism size: 25.4mmx25.4mmx25.4mm
Power supply: DC 5V/1A
Select screen
Tilting left and right can enter different function screens for rotation, tilting back is confirmation.

Introduction to networking, using weather and secondary screen functions requires networking.
After powering on, the device will automatically open an AP named My App with a password of 12345678. Open the mobile hotspot, find My App on the WiFi connection screen, connect to this AP with your phone, wait for a moment, and the network page will pop up, automatically searching for the current environment
Internal hotspot, select your hotspot and enter the password to complete the distribution network. After the distribution network is completed, the screen will obtain an IP address, which can be viewed on the WIFI page in the settings.
Note: Some mobile phones will automatically disconnect the 5G network used by the hotspot once they find that the hotspot cannot connect to the Internet. At this time, they need to connect to the AP again. If the network page does not pop up after connecting to the AP, please enter 192.168.4.1 on your mobile browser to open it.
After successful networking, enter the settings page, click WiFi, enter the WiFi page, slide to the bottom and find the currently connected IP address. Enter the IP address of this device in the computer browser to enter the web control page.
1. MJPEG playback
The MJPEG file is saved in the mjpeg folder of the TF card and defaults to carousel playback. The playback content can be changed by tilting left or right.
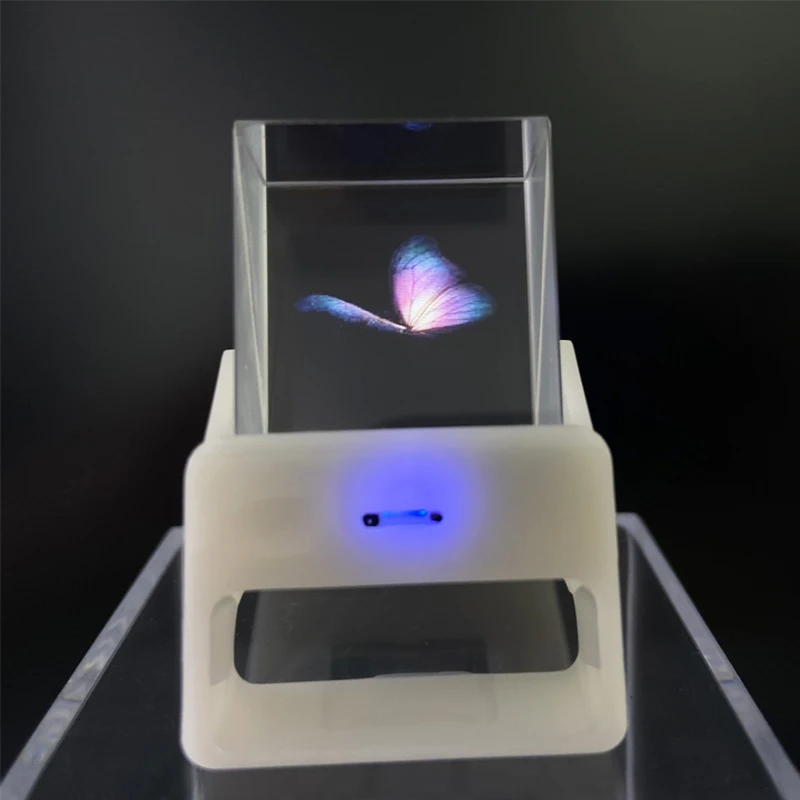
2. Picture playback
The photo file is saved in the TF card's pic folder and defaults to carousel playback. The playback content can be changed by tilting left or right.

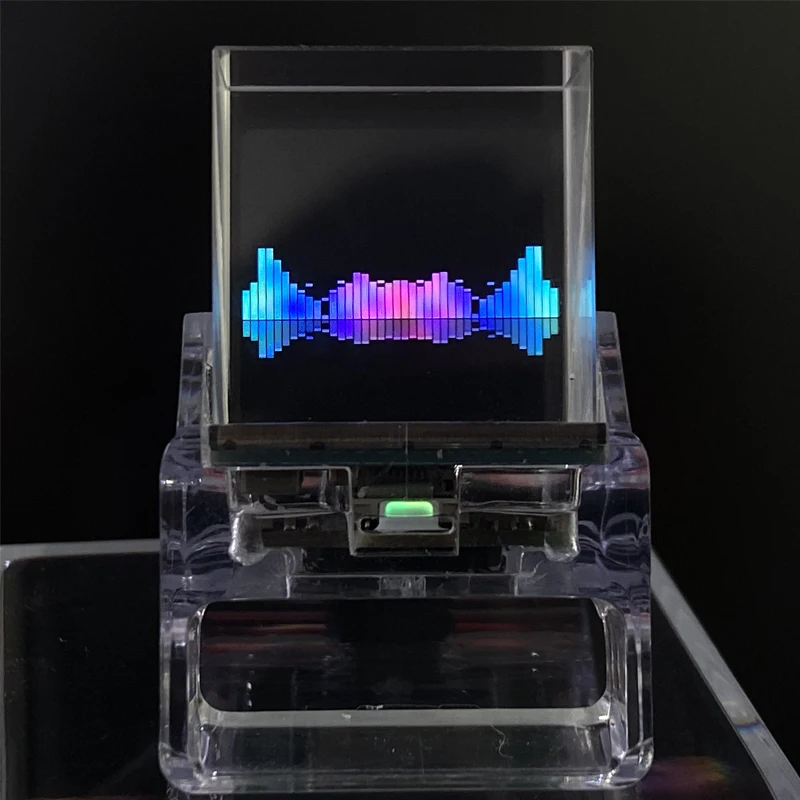
3. Pickup spectrum
Playing external MP3 files, the music score bar will change with the rhythm of the music. We highly recommend this feature for those who enjoy listening to music and watching music score bars.
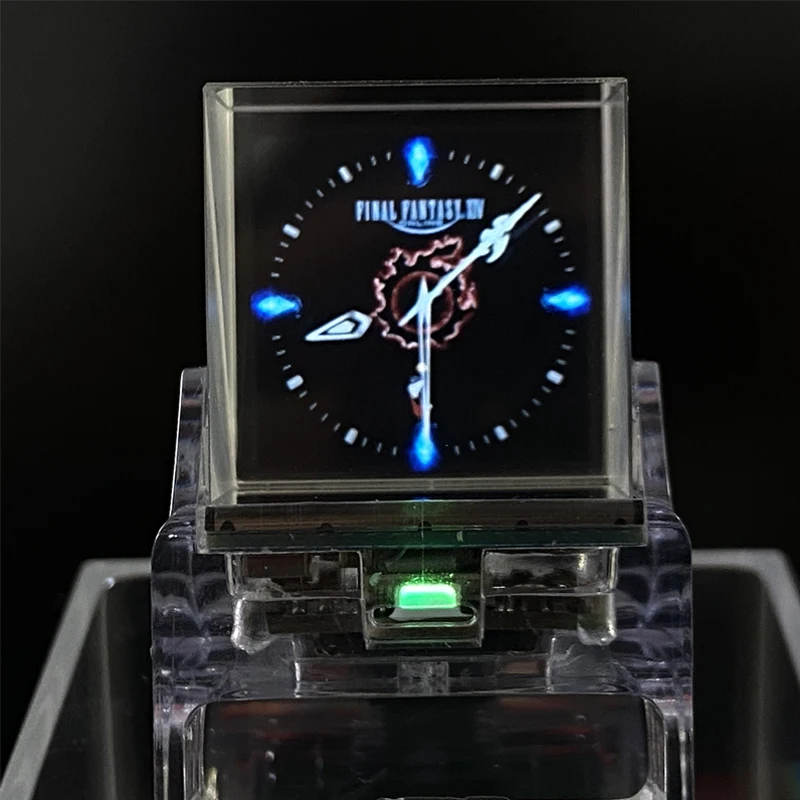
4. Clock theme
Built in 5 themed clock dials.
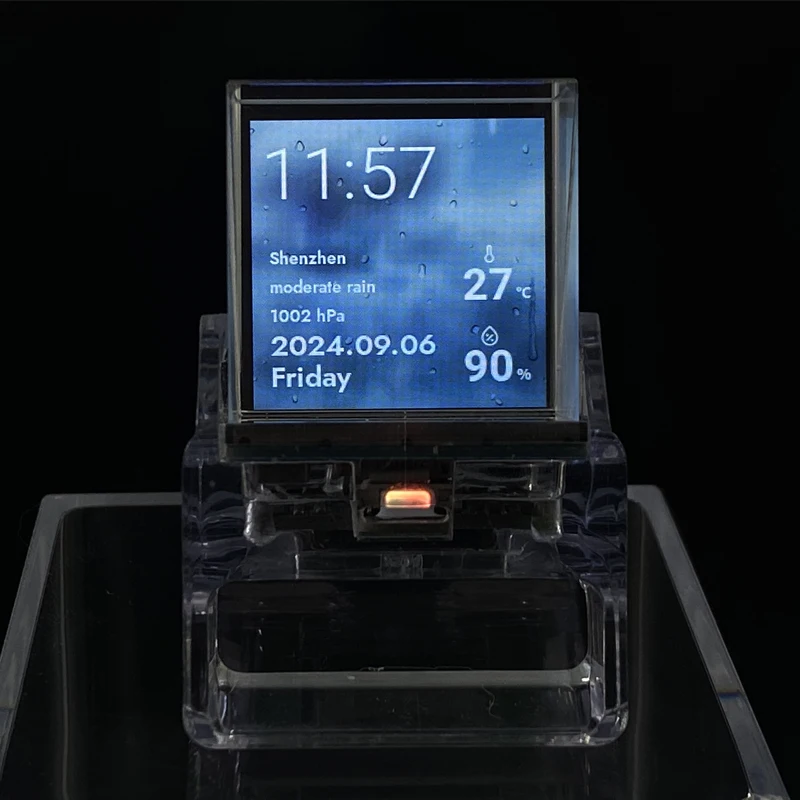
5. Real time weather
Once connected, real-time weather information can be obtained, and once connected, it needs to be set up on the web.1:https://home.openweathermap.org/api_keys
1.Register an account to obtain API key

2. Open city.listion.json in citycode and open it in text format to find the corresponding city code.
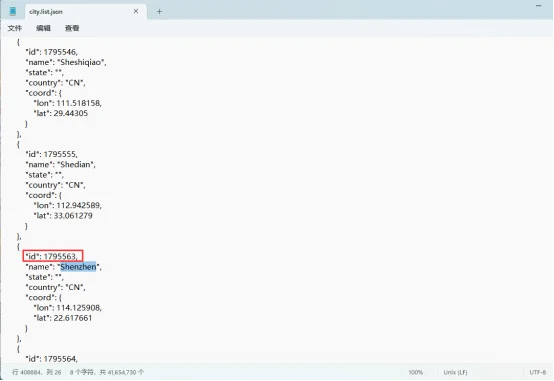
3. Enter the IP address of the screen on the browser, enter the city code and API key, and click save

6. Computer secondary screen
1. Find an activated AIDA64 client (self).
2. Menu [File] [Settings] [LCD], select Remote Sensor.
3. Port 80, freely fill in a resolution of 1280 × 800, and select 'Enable Remote Sensor LCD Support'.
4. Click on 'LCD Project', click on 'Import' in the upper right corner, and then select the aida_remote_1.33 file provided by our file.
5. After importing, some settings need to be made because everyone's CPU, GPU, motherboard, hard disk, network card, etc. are different. Please set them one by one, with 8 parameters: CPU usage \ CPU freq \ CPU temp \ CPU fan \ GPU usage \ GPU freq \ GPU temp \ GPU fan.
6. Please note that do not modify the text inside the "Show Label". "Show unit" must be filled in with "^" (without quotation marks), otherwise the device will not detect it.
7. After all modifications are completed, click OK and then minimize AIDA64. You can make it start automatically when turned on in the settings. (Settings, General, Running AIDA64 at Windows Startup).
8. Access the IP address of the screen through the webpage, set the IP address of your computer (i.e. the IP address of the computer running AIDA64) in the "Secondary Screen Host Address" at the bottom, and then save it.
If the local port 80 is occupied, a colon and a custom port need to be added after it.
for example
192.168.0.100 uses the host address 192.168.0.100 and defaults to port 80
192.168.0.100:9223 uses the host address 192.168.0.100 and port 9223
Note that the colon is an English colon ":".
9. Firewall allows AIDA64 to access the network, or manually open TCP80 port (or your custom port), important! https://jingyan.baidu.com/article/af9f5a2d2ea83543140a4584.html
After setting up, switch the screen to the AIDA64 function window to display computer status information.